Watch the following videos:
Color mixing
https://www.youtube.com/watch?v=chsVNmTTmGs
Tree painting:
https://www.youtube.com/watch?v=x18Idzb02Bg
Wednesday, September 30, 2015
Ceramics - Wheel Throwing Videos
Watch the following videos again and comment:
You will need to complete a wheel thrown piece for Quarter 1&2.
This information will be VERY helpful when you start throwing on the wheel.
Centering:
https://www.youtube.com/watch?v=rMWQ7eIbp98
Opening:
https://www.youtube.com/watch?v=xupn8MRTF-8
Pulling the walls:
https://www.youtube.com/watch?v=9RoCMYBoIII
Art One - More Prints
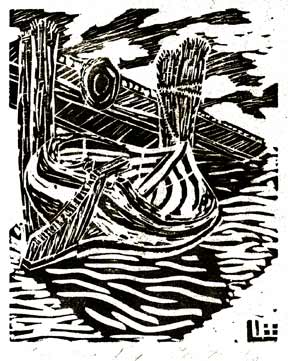
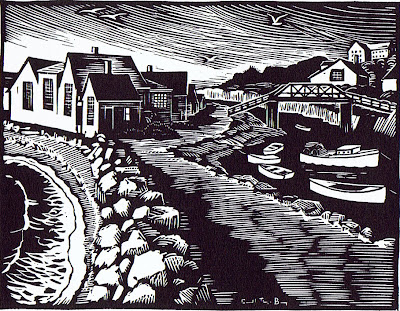
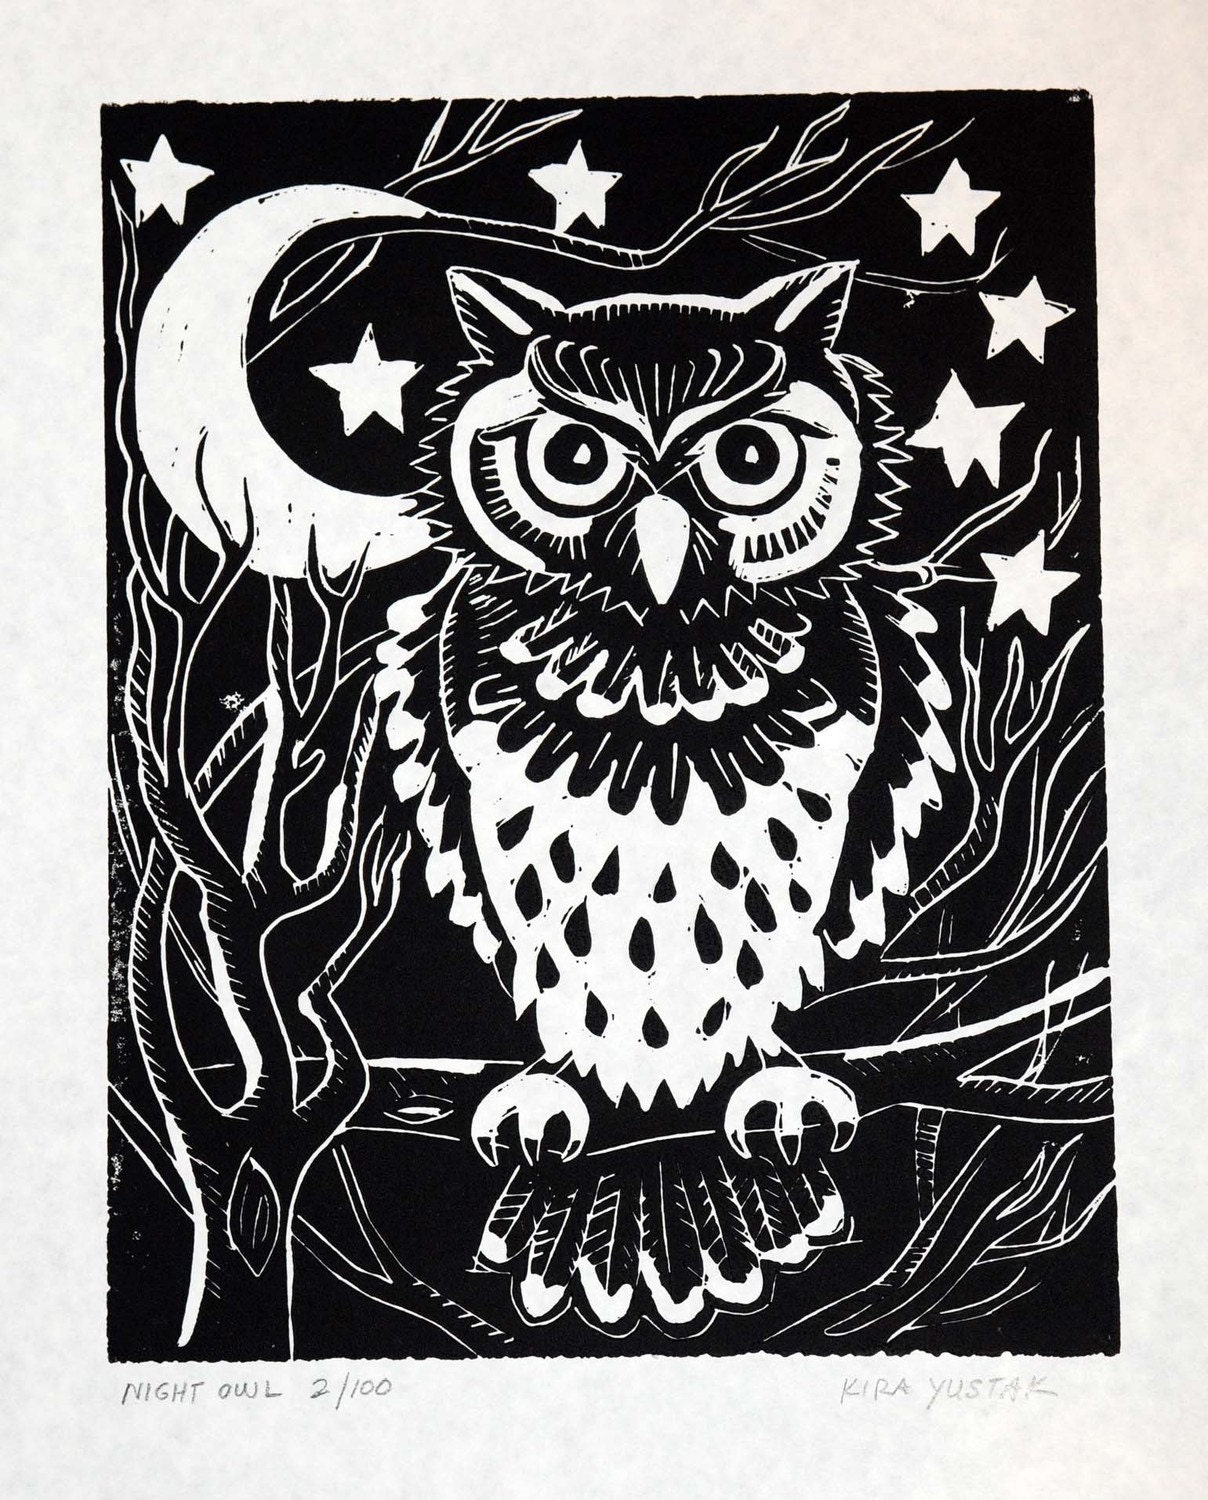
Below are more examples of block prints. What do you notice about the process of the artist? Which ones are more/less successful and why?




Tuesday, September 22, 2015
Art Two - 2D/3D
Which process do you prefer and why? Do you enjoy making drawings/paintings/collages (2D) or sculpture/ceramics (3D)?
Art One - Linoleum Cutting Video
Watch the following video for tips on cutting your linoleum block.
http://www.youtube.com/watch?v=I5QuEq8pKnQ
Ceramics - Free Form Coil Construction
1. What do you think of coil construction?
2. What are the challenges/benefits?
3. What do you think of the free form process?
4. Comment only as yourself. Do not use my name to comment. Otherwise, I will have you blocked.
2. What are the challenges/benefits?
3. What do you think of the free form process?
4. Comment only as yourself. Do not use my name to comment. Otherwise, I will have you blocked.
Monday, September 21, 2015
Art One - Photoshop Mandala - Due Tuesday
Create a RADIALLY SYMMETRICAL Photoshop mandala.
1. Open Photoshop. Go to "file", then "new" to set it up. Make a Photoshop document that is 4"x4" with a 150 dpi resolution.
2. Go ahead and open up 2-3 layers. Don't paste it on the background.
3. Use a section of one of your previous works or one of your action shots found online for one of the layers. Use any other photograph for the other layer. Feel free to add more layers if you want.
4. Erase, adjust the transparency, contrast, etc. to create the most dynamic image you can. Don't forget that you can add filters to your layers as well. Adjust the brightness/contrast for maximum impact.
5. Right click on one of the layers to flatten them. Once you flatten and save you can NOT step backwards to retrieve your layers.
6. Apply a filter again to the flattened image if you wish.
7. Save this file.
8. Open up a new file that is 8"x8" with a 300 dpi resolution.
7. Create four layers.
8. Paste your 4"x4" piece on each layer. Use the second tool down (the broken line selection one) to select the whole thing then either go to "Edit" and copy then paste (or Ctl+C to copy and Ctl+V is paste).
9. Use "Control T" to move and flip to line up all of the edges so that you have a radially symmetrical design. You can also right click after Ctl+T to flip horizontally/vertically.
10. If it is all lined up, you can flatten this image. Then you can adjust the contrast/brightness, use any of the adjustments or filters to make the most dynamic and interesting image you can.
11. You can be finished here or you can repeat the process for more detail. Keep the finished size at 8"x8".
11. Print and turn in.
The above mandala is a sample.
The above mandala is a sample.
Tuesday, September 15, 2015
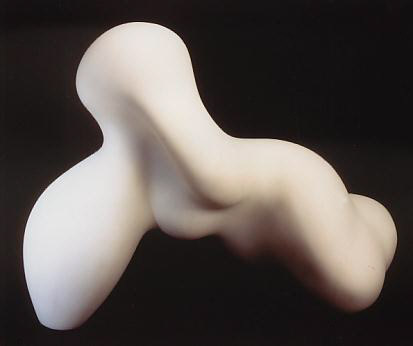
Ceramics - Jean Arp - Free Form Sculpture
- Jean (Hans) ArpSculptor
- Jean Arp or Hans Arp was a German-French sculptor, painter, poet, and abstract artist in other media such as torn and pasted paper.
- Born: September 16, 1886, Strasbourg, France
- Died: June 7, 1966, Basel, Switzerland
- Below are examples of his work. What do you think? How is it similar to your free form clay work?


All ART students - see below
There have been a few of you (you know who you are) who have either emailed me, dropped by or messaged me about blog comments that have not posted correctly. Apparently, there is a breakdown in the process. If you have indeed completed the posts that you have said, go back, comment again and MAKE SURE your comment posts. Then, email me to let me know you have commented. Put the blog title and date in the memo part of your email to me. My email address is nancy.butler@fpdmacon.org. I will only give credit if you comment and then email me. These late comments for the first three blogs will not be taken past Monday. After that, absolutely no late posts will be accepted. Make sure your post shows up.
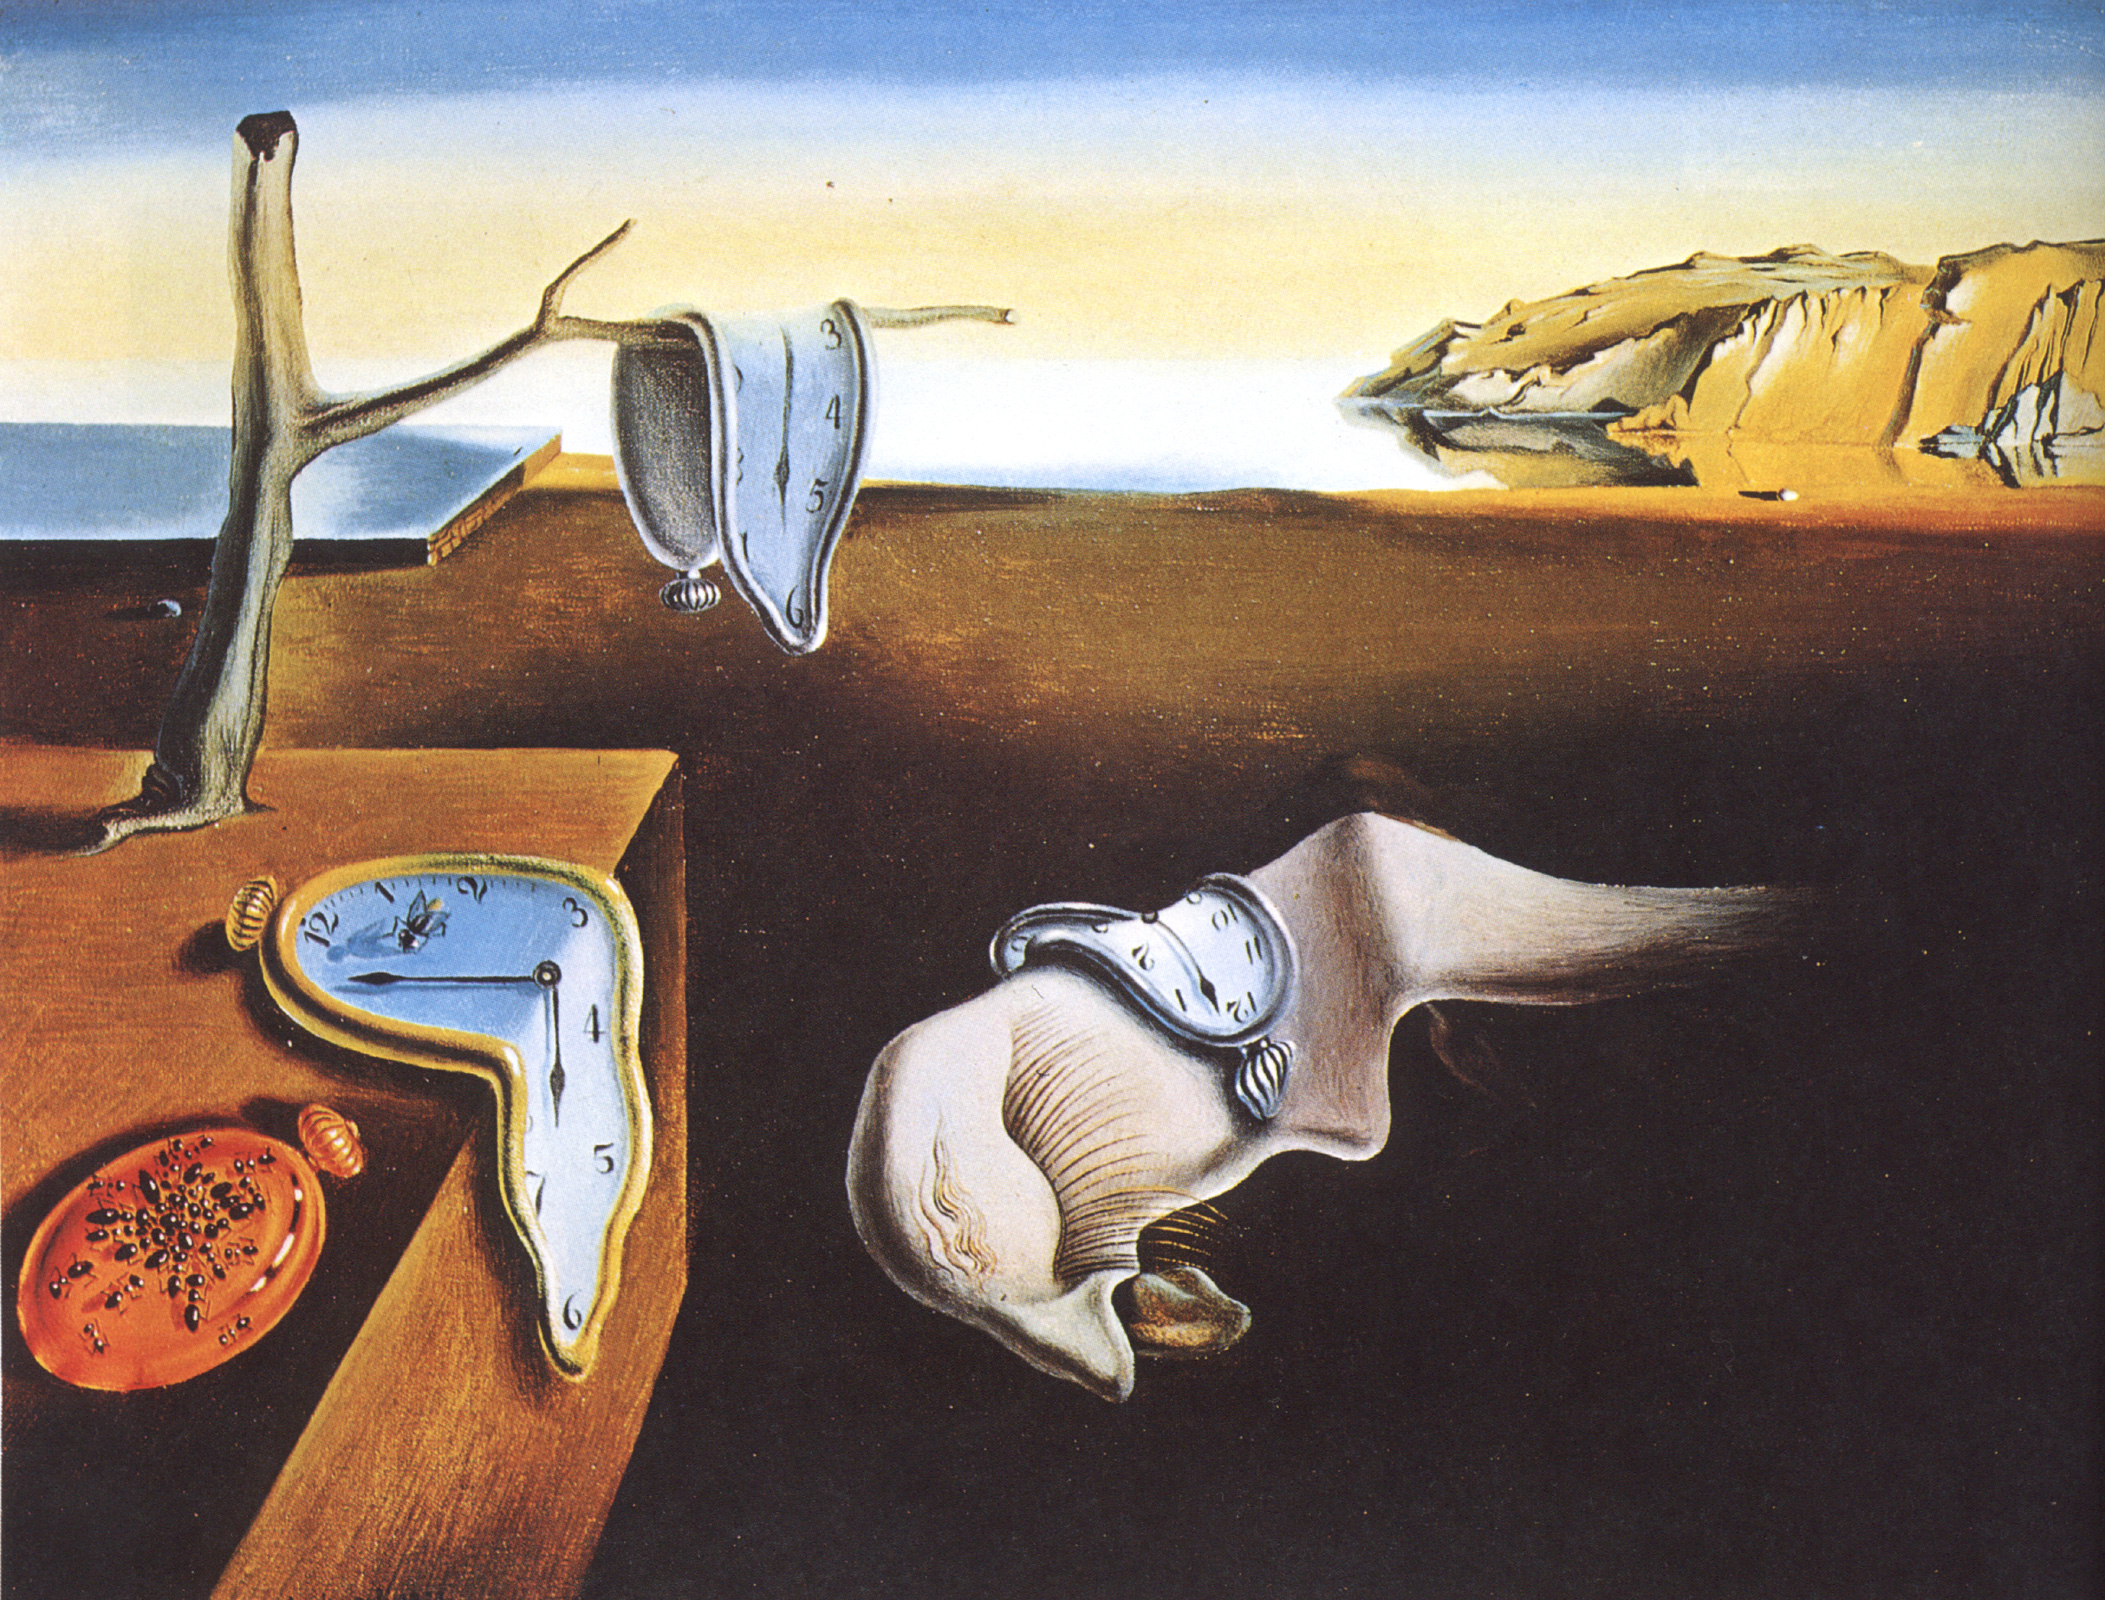
Art One - Surrealism Video
Follow the link below and watch the short (5 min.) video about Surrealism.
https://www.youtube.com/watch?v=6WKIBbVaxjc
https://www.youtube.com/watch?v=6WKIBbVaxjc
Art Two - Collage?
What did you think of the collage process? How is it similar to painting? How is it different?
Wednesday, September 9, 2015
Ceramics - Wheel Throwing Videos
Watch the following videos and comment:
You will need to complete a wheel thrown piece for Quarter 1&2.
Centering:
https://www.youtube.com/watch?v=rMWQ7eIbp98
Opening:
https://www.youtube.com/watch?v=xupn8MRTF-8
Pulling the walls:
https://www.youtube.com/watch?v=9RoCMYBoIII
Centering:
https://www.youtube.com/watch?v=rMWQ7eIbp98
Opening:
https://www.youtube.com/watch?v=xupn8MRTF-8
Pulling the walls:
https://www.youtube.com/watch?v=9RoCMYBoIII
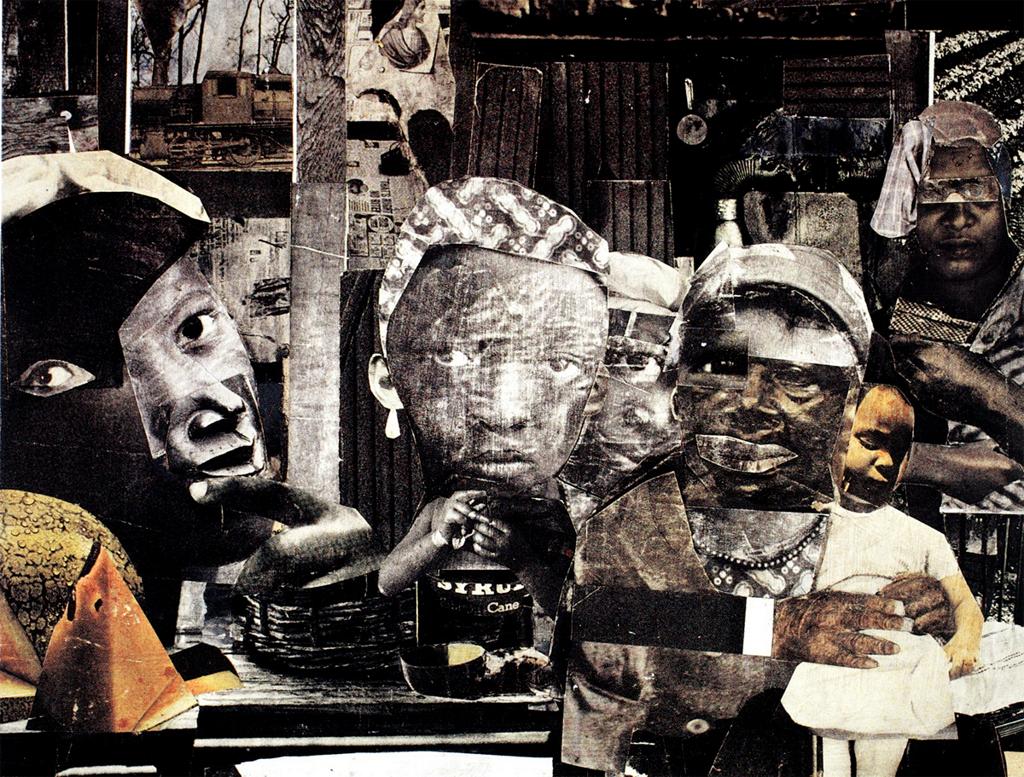
Art Two - Romare Bearden and collage
Romare Bearden (September 2, 1911 – March 12, 1988) was an African-American artist and writer. He worked in several media including cartoons, oils and collage. Born in Charlotte, North Carolina, Bearden moved to New York City at a very young age and went on to graduate from NYU in 1935. He began his artistic career creating scenes of the American South. Later, he endeavored to express the humanity he felt was lacking in the world after his experience in the US Army during World War II on the European front. He later returned to Paris in 1950 and studied Art History and Philosophy at the Sorbonne in 1950.
Bearden's early work focused on unity and cooperation within the African-American community. After a period during the 1950s when he painted more abstractly, this theme reemerged in his collage works of the 1960s, when Bearden became a founding member of the Harlem-based art group known as The Spiral, formed to discuss the responsibility of the African-American artist in the struggle for civil rights.


Art One - Photoshop Video - Tips for Beginners
Click the link below and watch the video. It is about 25 minutes long but will REALLY help you next week when we are working on Photoshop.
www.youtube.com/watch?v=Dy2d4H3VHew
www.youtube.com/watch?v=Dy2d4H3VHew
Thursday, September 3, 2015
AP Art - 2D - Photoshop Mandala
2D - Create a Photoshop mandala.
1. Make a Photoshop document that is 7"x7" with a 300 dpi resolution. Open Photoshop. Go to "file", then "new" to set it up.
2. Go ahead and open up 2-3 layers. Don't paste it on the background.
3. Use a section of one of your previous works or an action shot found online for one of the layers. Use any other photograph for the other layer. Feel free to add more layers if you want.
4. Erase, adjust the transparency, contrast, etc. to create the most dynamic image you can. Don't forget that you can add filters to your layers as well. Adjust the brightness/contrast for maximum impact.
5. Save this file.
6. Open up a new file that is 14"x14" with a 300 dpi resolution.
7. Create four layers.
8. Paste your 7"x7" piece on each layer.
9. Use "Control T" or "Flip horizontally/vertically" to move and flip to line up all of the edges.
10. You can be finished here or you can repeat the process for more detail.
The above mandala is a sample from Art One.
11. Print yours out and tape into your sketchbook for me to grade. You should have our printer installed, but if you don't, it is the FA_MS-HS Art printer. Install it as a "new device or printer" and print it. See me if you can't get the printer loaded.
Tuesday, September 1, 2015
Art Two - Collage examples
Look at the collages below. Which one is your favorite? Notice how they use a variety of tones and textures of the same color.


Art One - erasing on Photoshop
Watch the following video. It will help you with our next project.
https://www.youtube.com/watch?v=_zP5mpzp8UU
https://www.youtube.com/watch?v=_zP5mpzp8UU
Subscribe to:
Comments (Atom)
